

Perhaps you’ve been hardening your very own seedlings at home before introducing them full-time outdoors…or maybe you’ve collected a few trays of exciting new vegetables from your local garden center that are in need of deeper soil. No matter how your seedlings have come to grow, the steps taken to transplant your growing flowers or vegetables can mean a great deal in determining how well your future garden grows.
Although transplanting your seedlings may seem simple…there are a lot of factors that can prevent those seedlings from thriving after being moved to their raised garden beds! To ensure that your growing seedlings have the best chance of thriving after transplanting, follow our helpful tips below!
Can you Transplant Seedlings too Early?
The answer is absolutely, even if your outdoor temperature is relatively warm outside! Depending on your seasonal temperatures, location, and crop, some seedlings can be transplanted 1-2 weeks after your last frost, and sometimes even prior! Getting an early start by planting your seeds before Spring doesn’t always lead to a bigger and better crop. Depending on where you are located, starting your seeds early in the year without grow lights, and when daylight hours are limited, may result in weaker and more fragile seedlings.
When Can I Plant my Seedlings Outside?
The maximum number of weeks in which a seedling can stay in a tray is 3 to 4 weeks, this time frame may be less if you are collecting seedlings from a local garden center. There are a number of ways to tell when your tray or plastic container seedlings are ready to be transplanted. Below we’ll cover how to spot when your at-home seedlings are ready to be relocated. If you are starting seedlings at home, then it is vital that you harden off your seedlings prior to transplanting them outdoors. If you have yet to harden your plants, make sure to visit this helpful resource from Burpee to learn how. Are you currently hardening your seedlings? Refer to the following signs below to determine when your seedlings are ready to transplant.
*Hardening your seedlings involves introducing your potted or pelleted plants outdoors to get acclimated to outdoor temperatures and winds. In turn, this will toughen your seedlings to their future and permanent outdoor environment.
True Leaves:
Seedlings are typically ready for outdoor planting once they have a minimum of two to three sets of “true” leaves. Although exciting, you shouldn’t depend on your seedling’s first leaves to determine their readiness for outdoor planting. The first few leaves of your seedling will eventually begin to wither, when this happens, don’t be alarmed. The first two leaves of your plant turning yellow and falling is simply a sign of upcoming growth. Eventually, your seedlings will begin to develop “true” leaves, which are leaves that are larger and less flimsy.
Exposed Roots:
Exposed roots near the drainage holes of container or via the side of a pellet is another way of knowing when to transplant. If left as is, roots may continue to grow and become what is known as pot-bound. A pot-bound root system will restrict further plant growth and result in the plant’s roots becoming a tightly intertwined mass.
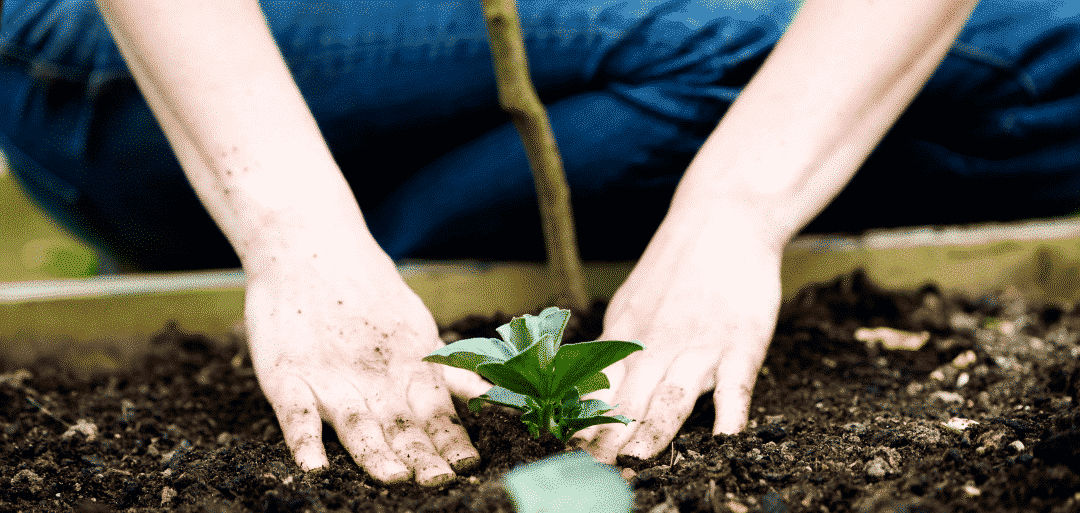
Transferring Seedlings to Your Raised Garden Bed
Time of Day and Weather
Although it may be tempting to introduce your plants outdoors on a cloudless, sunny day, this may, in turn, cause a great deal of harm. It’s best to introduce your hardened seedlings outdoors either early in a cloudy morning or late afternoon. On the day you decide to transplant your seedlings, check nightly temperatures to ensure that there isn’t a significant drop that could affect your crop.
Predator Safety
Your new outdoor garden additions will not only be a source of food for you, but also any hungry pests or critters nearby. It’s always best to prepare a safe predator covering, especially if you live in an unfenced area. Our Wildlife Covers are one simple and cheaper way to protect your growing plants from squirrels, birds, and even deer!
Post Transplant
It’s best to always water after transplanting your crops as opposed to transplanting in already moistened dirt. Do you live in a zone that experiences dry weather conditions? If so, we recommend immediately mulching after transplanting your crop. Mulching will prevent your new veggies from baking in the sun and will help retain moisture. For more information on how to prepare your raised garden bed, visit our blog post here!
We hope you find these gardening tips helpful as you begin your backyard farming journey! If you ever have any questions regarding anything that is mentioned in this blog post? Reach out to us at 877-741-2667 or email us at support@roostandroot.com.
For more raised vegetable gardening help, visit our blog post 5 Ways Raised Vegetable Gardens Can Increase Your Gardening Success.
We’re real people and are always happy to help!